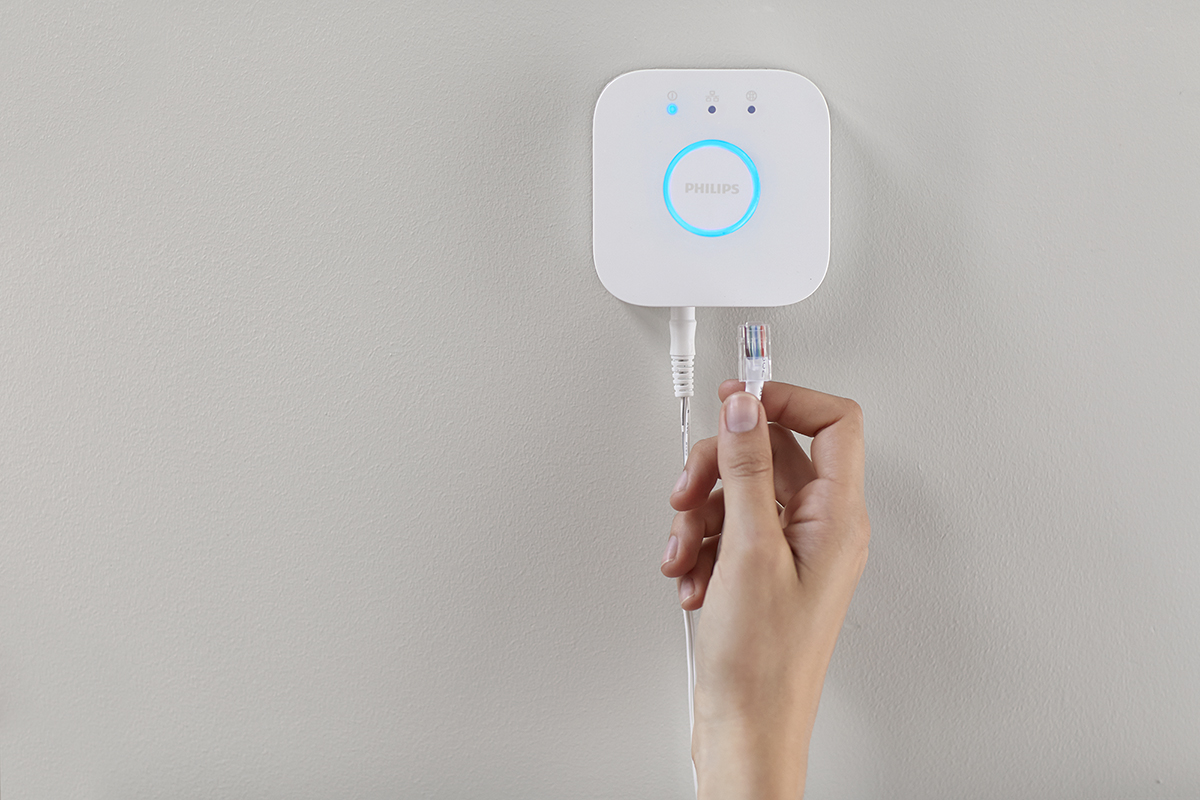
So you’ve got your brand new Philips Hue 2.0 Bridge in front of you. It’s a bit less shiny and decidedly more square than version 1. You also have an iOS device running iOS 10 and possibly an Apple TV as well (more on this later). You just want to say “Siri, turn on my bedroom lights”, so lets get to it.
If you have a version 1 bridge, you’ll first want to migrate all of your Hue configuration settings to the new bridge. Philips has made a handy YouTube video walking you through the migration. Watch it if you need to, skip on down if you don’t.
Now that you’ve moved all your settings to the new Hue bridge (or you’re setting it up from scratch) lets start the HomeKit integration.
Pairing The Hue Bridge with the Home App
- Open the “Home” app on your iOS device (you can search or ask Siri to open it if you don’t see it right away).
- Push the + button in the upper right corner and choose “Add Accessory”.
- Home should find the Hue bridge and prompt you for the HomeKit code.
- Turn your Hue bridge over, you’ll see a box with an eight-digit number separated into three groups. Scan that with the iOS devices camera or type it in.
- That’s it! The accessory should show up, you can now place it into a room and create scenes that include that accessory. If you have a room named “Bedroom” and you place a light in it, you can now say “Siri, turn on my bedroom lights”.
If you’d like to use the Scheduling/Automation feature of iOS Home, you’ll need an Apple TV. HomeKit uses the Apple TV as a sever that handles the scheduling.
I’ve been trying various incarnations of this procedure for nearly a week; with always the same results, “Unable to add accessory. The setup code is incorrect.” Makes no difference whether I scan in the code or type it in, same error. Using iOS 14.5. Really wish there were smart bulbs for my ceiling fan that were 100% Apple HomeKit compatible and I wouldn’t have to mess with Android stuff at all.